How to add GIFs to CapCut. GIFs or Graphics Interchange Format or commonly known by people as animated images or moving images is a graphic format that is most often used for the purposes of website design and social networking for many years.
Although most often used for website purposes, animated GIFs have now become one of the most frequently added media or components when creating or editing videos.
The presence of GIFs in a video is usually a complementary effect so that the story that occurs in the video can be felt more by the audience.
Therefore, the appearance of GIFs in videos is usually accompanied by sound effects that can better express the atmosphere that occurs in the video, for example funny, happy, sad, disappointed, scared, and so on.
In the CapCut application, you can add GIFs to the video that you are editing very easily without having to convert it first to the video format. Best of all, with its keyframe feature, you can also make movement in your GIFs image, resize it, make it rotate, adjust its opacity, and many other things.
Here is a tutorial on how to add GIFs to CapCut and how to make a GIF move in CapCut that you can learn and practice.
Read more: How to add text in CapCut
How to Import GIFs into CapCut
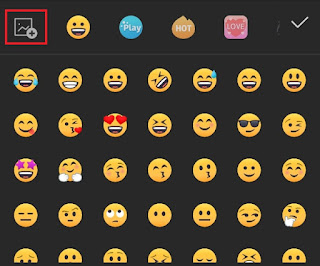
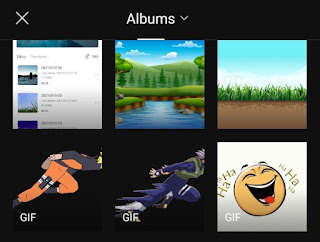
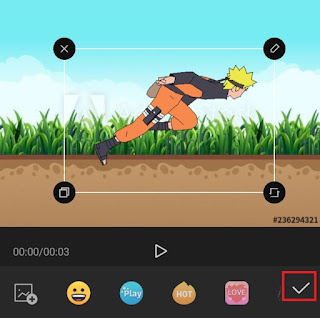
For how to insert a GIF in CapCut without converting it to a video first, you can add it as a sticker and not as an overlay. Here are the step by step.
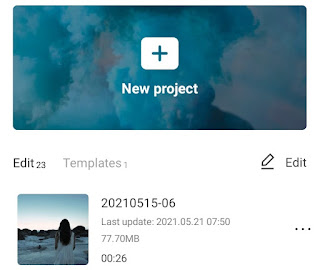
- Create a new project on the home screen of the CapCut application.
How to Make a GIF Move in CapCut
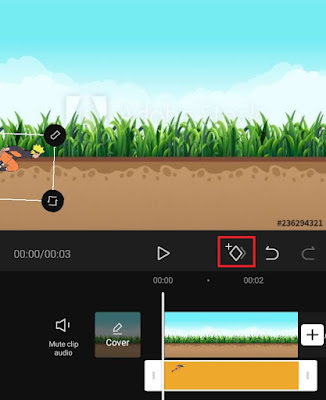
- At the start of the GIFs frame, tap the add keyframe button, then drag the GIF image to the far left of the video.
-
Tap the play button to see the results of the GIF image movement.
Are you still confused when practicing the tutorial above? Just watch the video below to finish for how to add GIFs to CapCut which is more detailed and easy to understand.
Well, that’s the above tutorial how to add GIFs to CapCut and how to make a GIF move in CapCut. Did the topics in this article help you? Please submit your response via the comment box below. That is all and thank you.


